- Create an account on kaggle.com. Note that your account can be ephemeris if you are not willing to adhere to Microsoft technical tools.
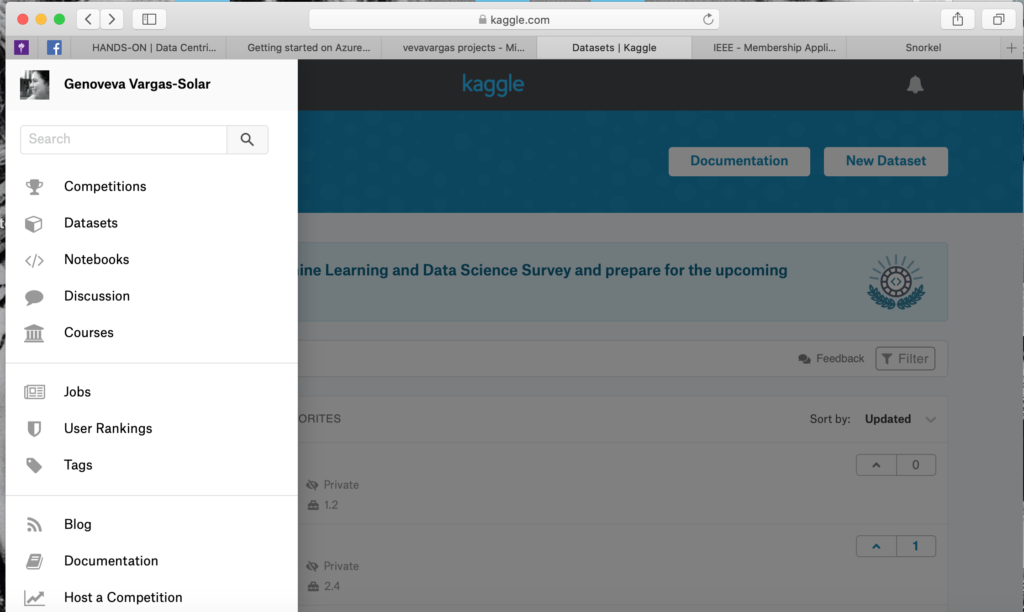
- Once you have a Kaggle account you will have access to a space that provides you with all services in the environment as shown in the following figure.
![](http://vargas-solar.com/data-centric-smart-everything/wp-content/uploads/sites/42/2019/10/Capture-d’écran-2019-10-21-à-13.04.45-1024x612.png)
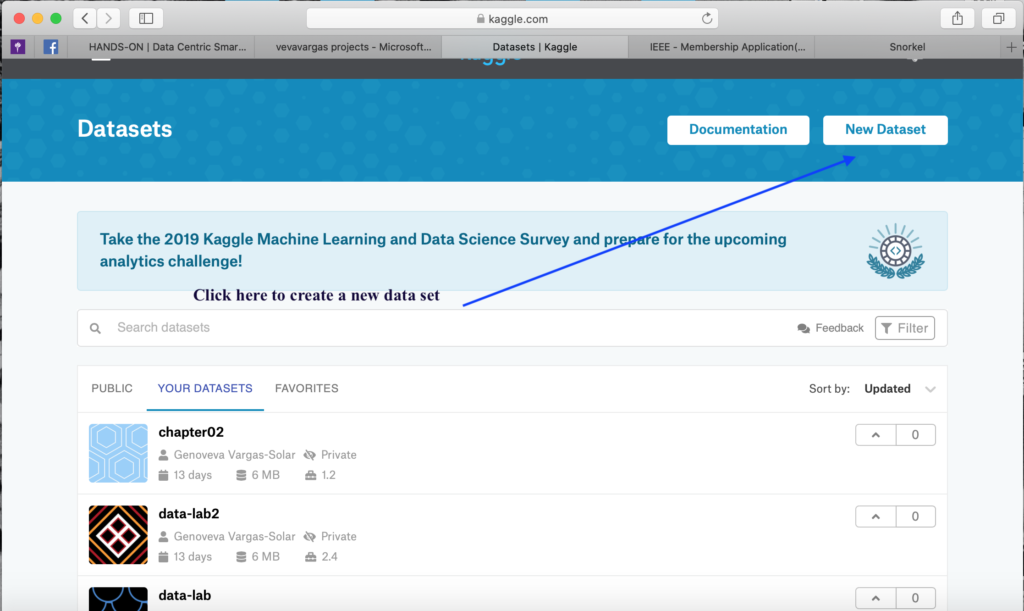
2. There add a new Dataset choosing the option Datasets in the left side menu. The objective for us is to retrieve the data collections that we will use on our hands-on exercise.
![](http://vargas-solar.com/data-centric-smart-everything/wp-content/uploads/sites/42/2019/10/Capture-d’écran-2019-10-21-à-13.00.40-1024x611.png)
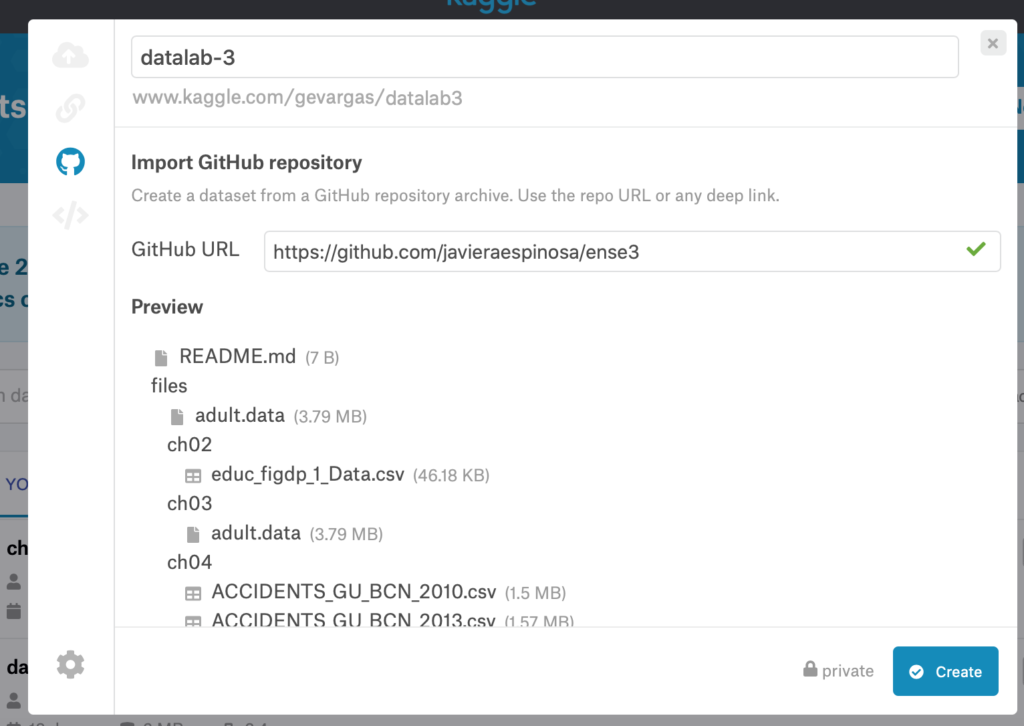
You will have the formular for creating data sets. Choose the option github so that you can upload the data that we have provided there.
![](http://vargas-solar.com/data-centric-smart-everything/wp-content/uploads/sites/42/2019/10/Capture-d’écran-2019-10-21-à-13.06.24-1024x577.png)
You land to this formular and here you choose github for uploading your data.
![](http://vargas-solar.com/data-centric-smart-everything/wp-content/uploads/sites/42/2019/10/Capture-d’écran-2019-10-21-à-13.02.40-1024x623.png)
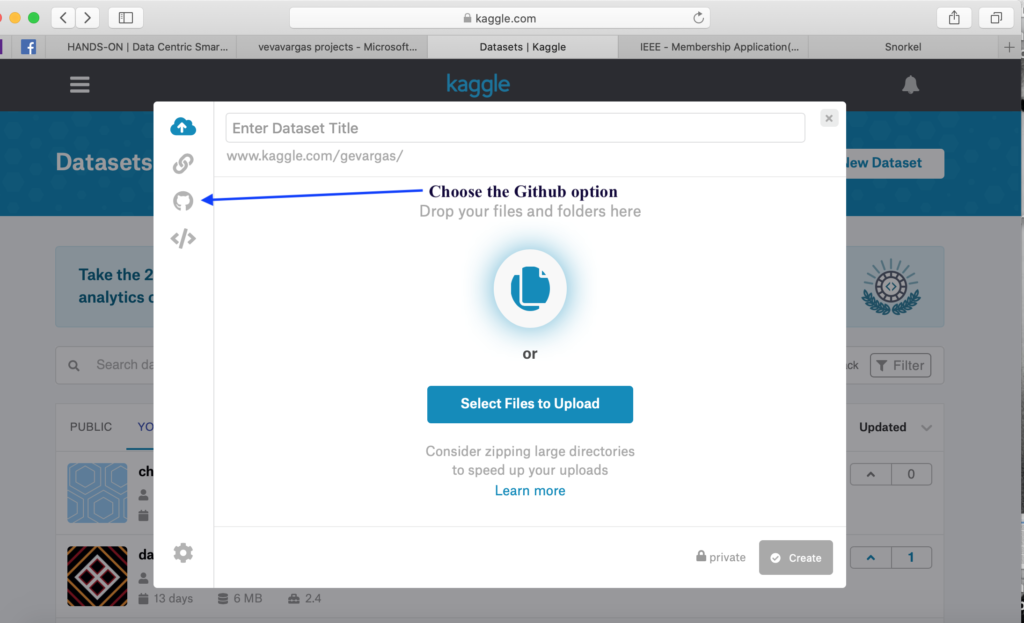
- The address is https://github.com/javieraespinosa/ense3
- Give a name to your library and to your work space by filling the formulary.
![](http://vargas-solar.com/data-centric-smart-everything/wp-content/uploads/sites/42/2019/10/Capture-d’écran-2019-10-21-à-13.04.22-1024x726.png)
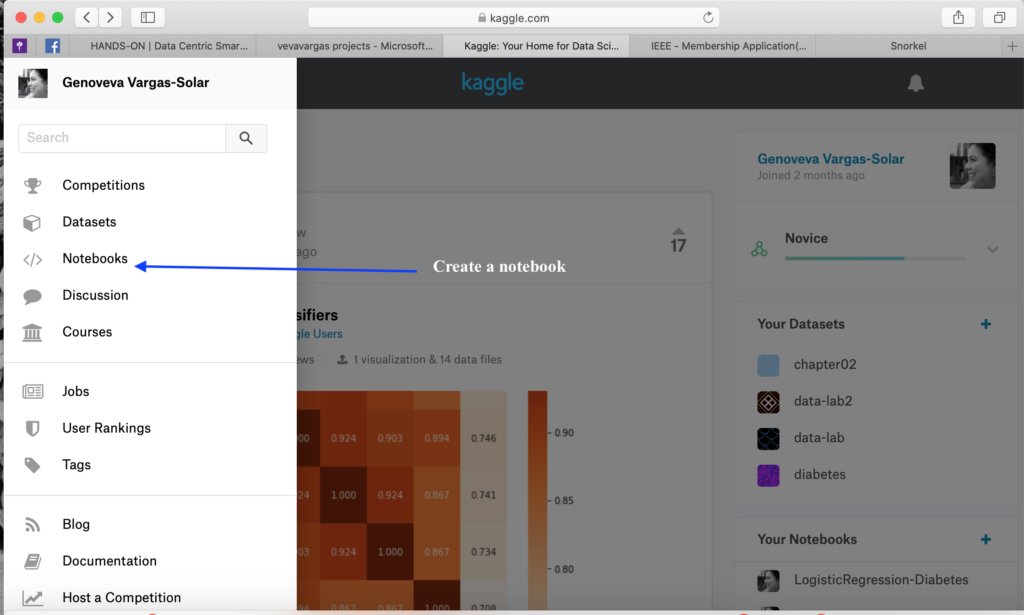
3. Once your project has been created, create a new notebook by
- Choosing the Notebooks option in the main menu
- Following instructions on the formular
![](http://vargas-solar.com/data-centric-smart-everything/wp-content/uploads/sites/42/2019/10/Capture-d’écran-2019-10-21-à-13.00.03-1024x615.png)
![](http://vargas-solar.com/data-centric-smart-everything/wp-content/uploads/sites/42/2019/10/Capture-d’écran-2019-10-21-à-13.05.41-1024x613.png)
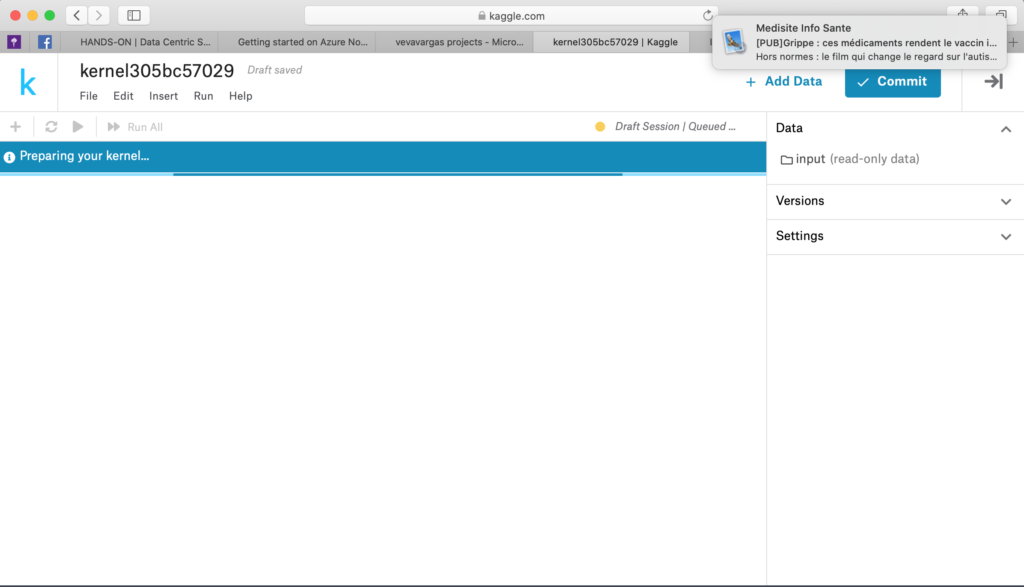
4. Once clicked on the create option you land here
![](http://vargas-solar.com/data-centric-smart-everything/wp-content/uploads/sites/42/2019/10/Capture-d’écran-2019-10-21-à-13.05.55-1024x587.png)
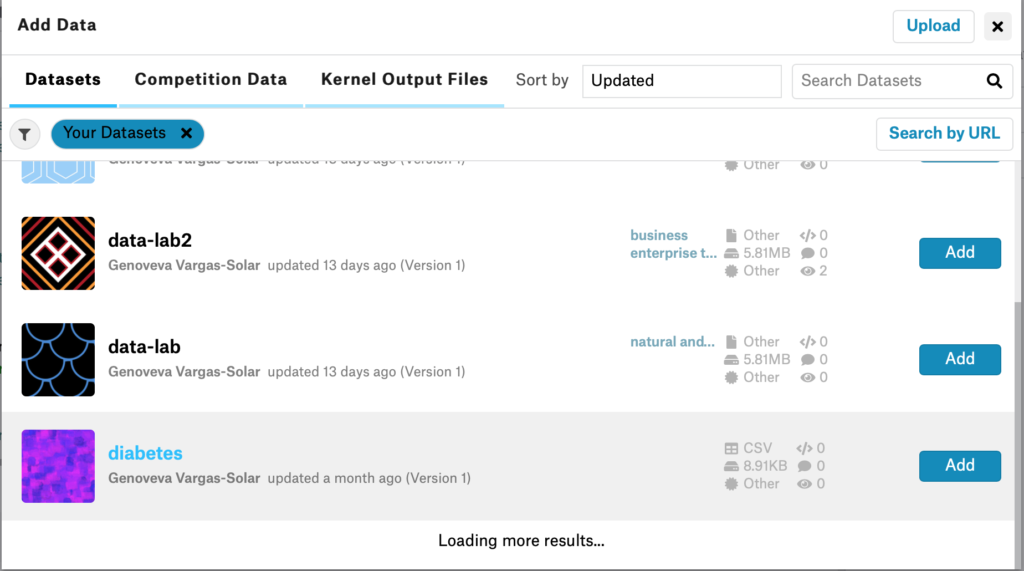
5. Name your notebook and click on add data to associate the data you will use in this notebook. Choose the data you have uploaded previously.
![](http://vargas-solar.com/data-centric-smart-everything/wp-content/uploads/sites/42/2019/10/Capture-d’écran-2019-10-21-à-13.06.51-1024x582.png)
![](http://vargas-solar.com/data-centric-smart-everything/wp-content/uploads/sites/42/2019/10/Capture-d’écran-2019-10-21-à-13.06.36-1024x571.png)
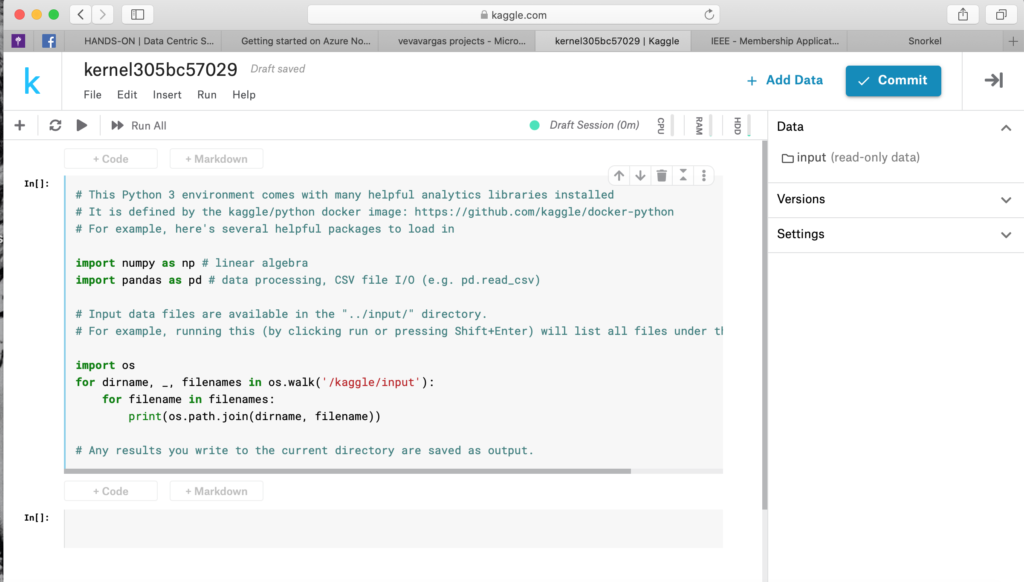
Execute the instrutions given in the notebook to find out the PATH of your files.
![](http://vargas-solar.com/data-centric-smart-everything/wp-content/uploads/sites/42/2019/10/Capture-d’écran-2019-10-21-à-13.06.51-1-1024x582.png)