
Paragraph
- Create an account on Azure notebook. Note that your account can be ephemeris if you are not willing to adhere to Microsoft technical tools.
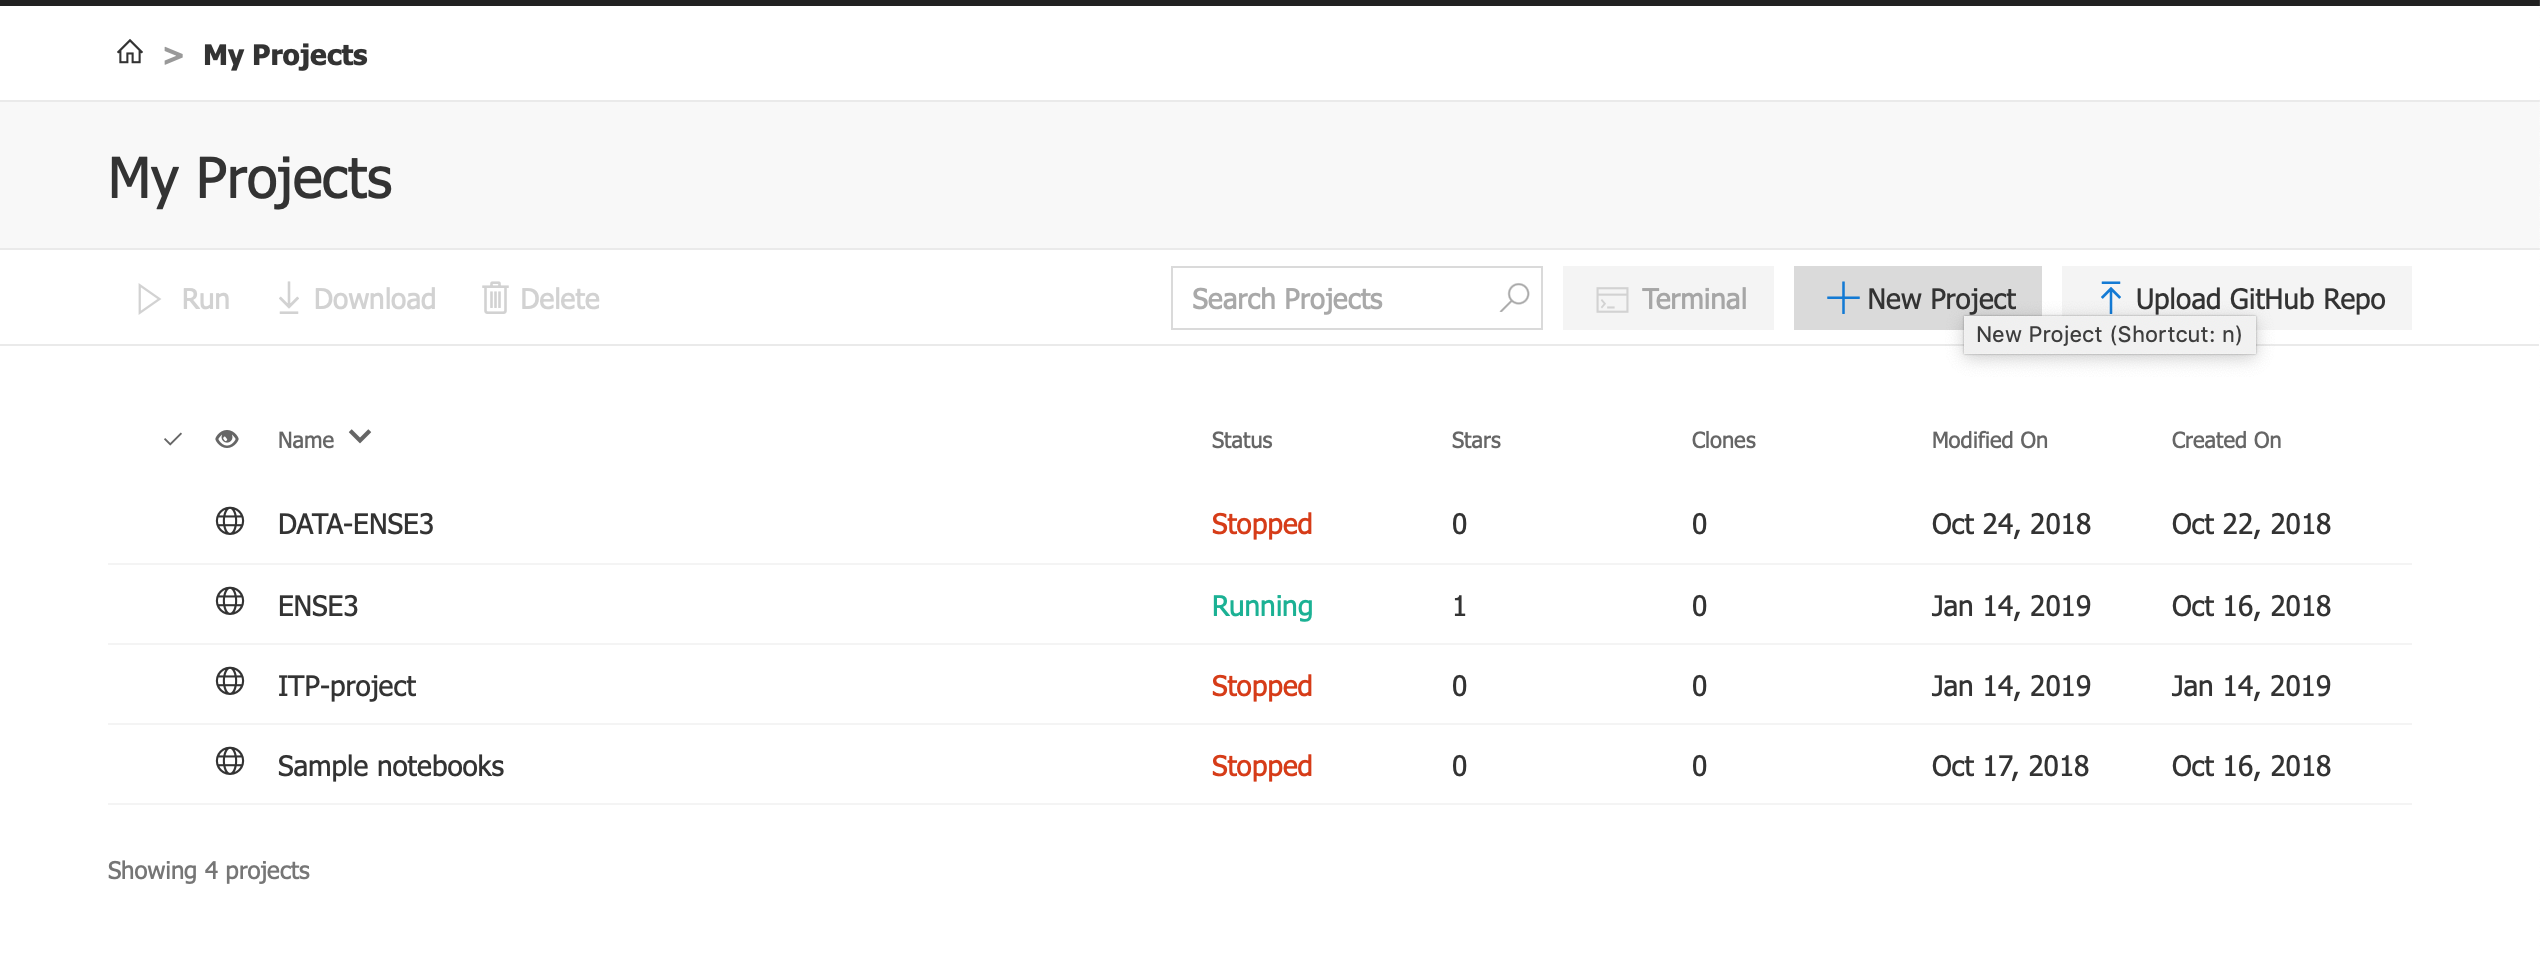
- Once you have an Azure notebook account you will have access to a space called Libraries as shown in the following figure.
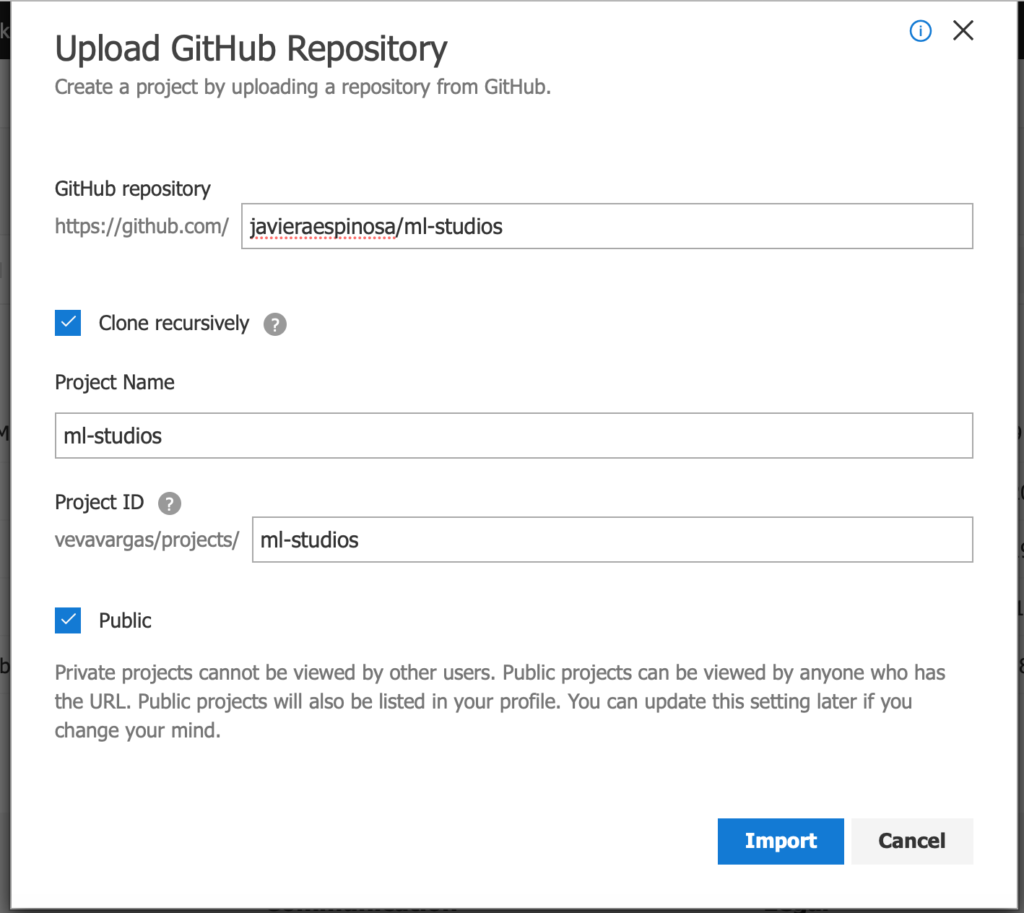
2. There add a new Project choosing the option Upload Github Repo. The objective for us is to retrieve the data collections that we will use on our hands-on exercises.
- The address is javieraespinosa/ml-studios
- Give a name to your library and to your work space by filling the formulary.
- Tick also on recursively create option.
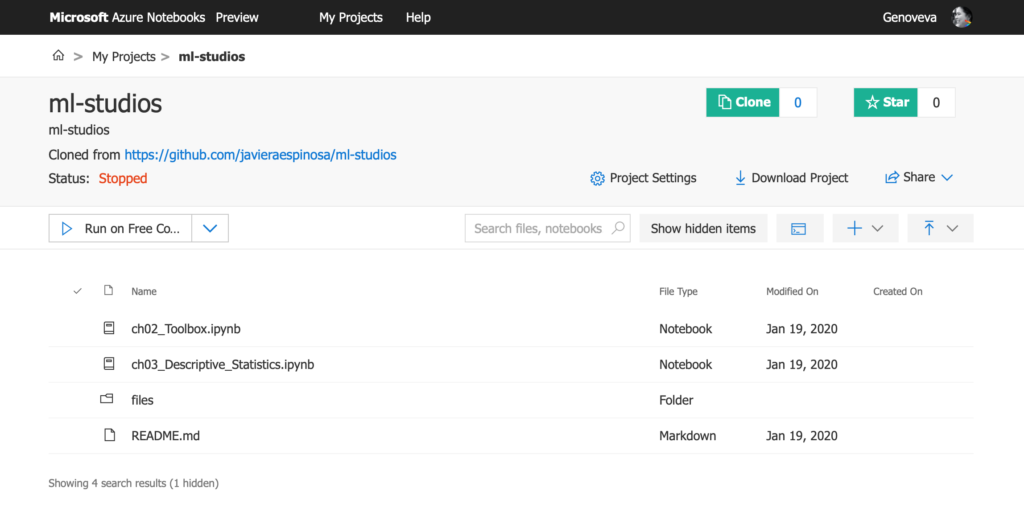
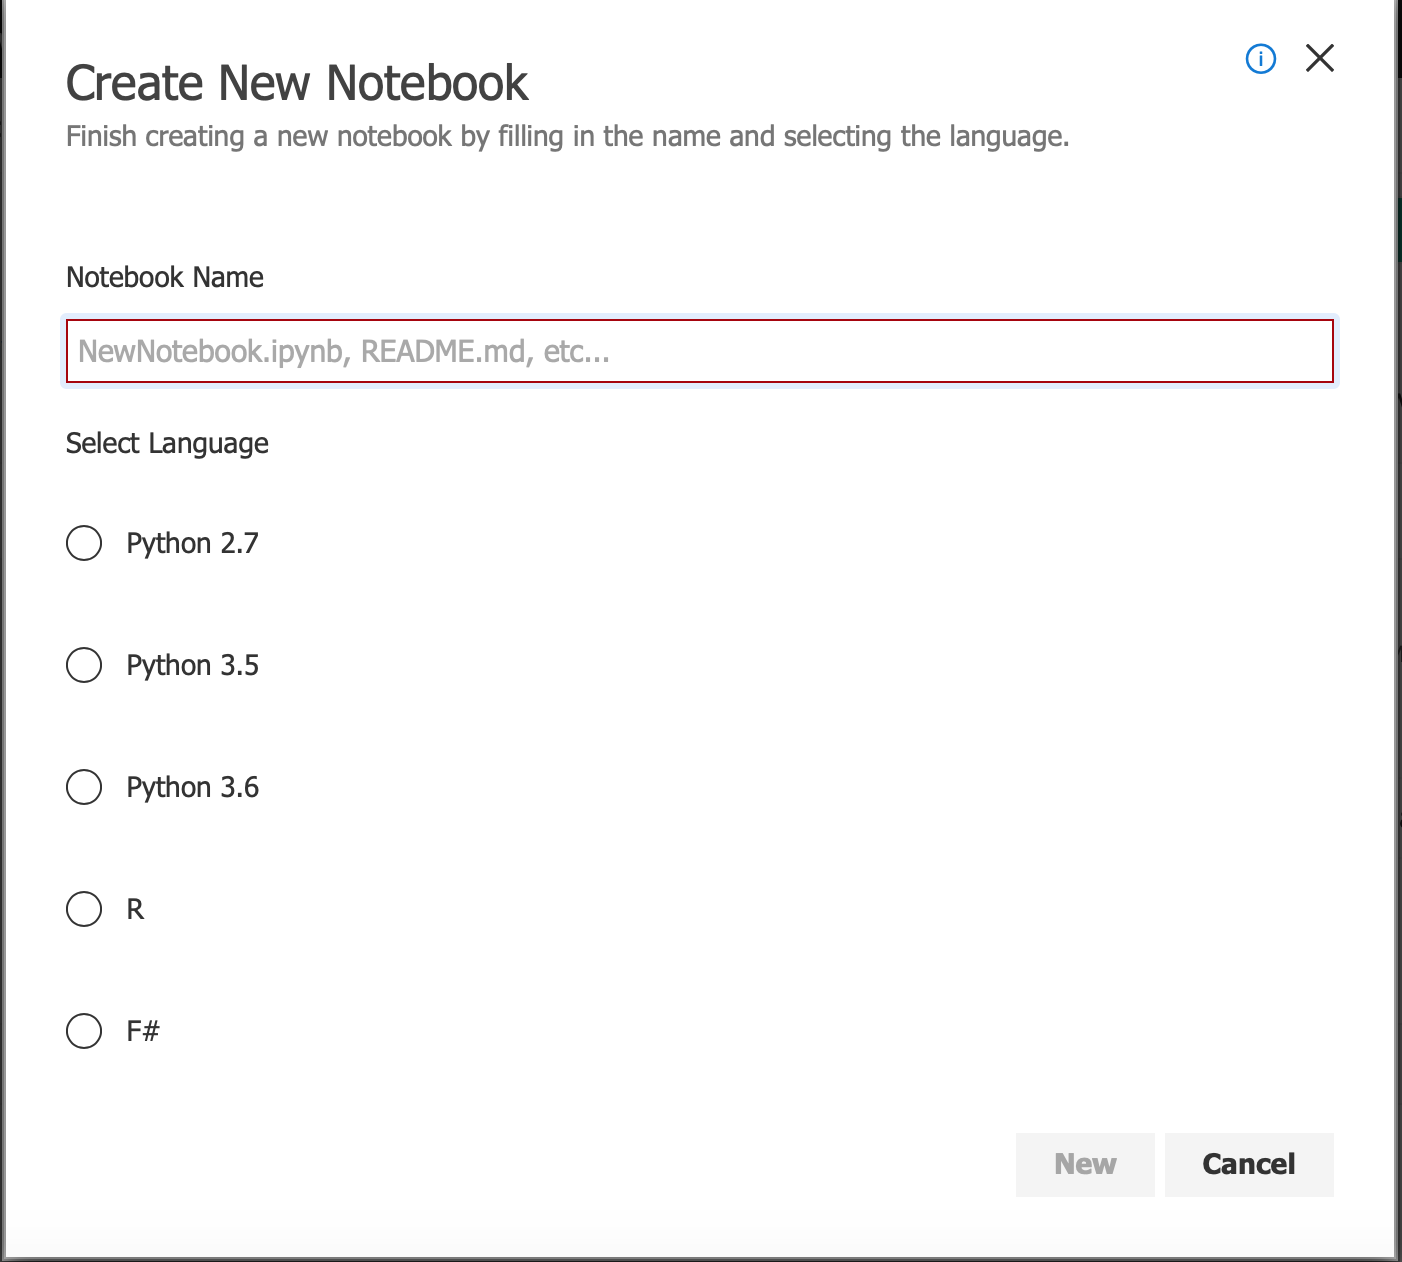
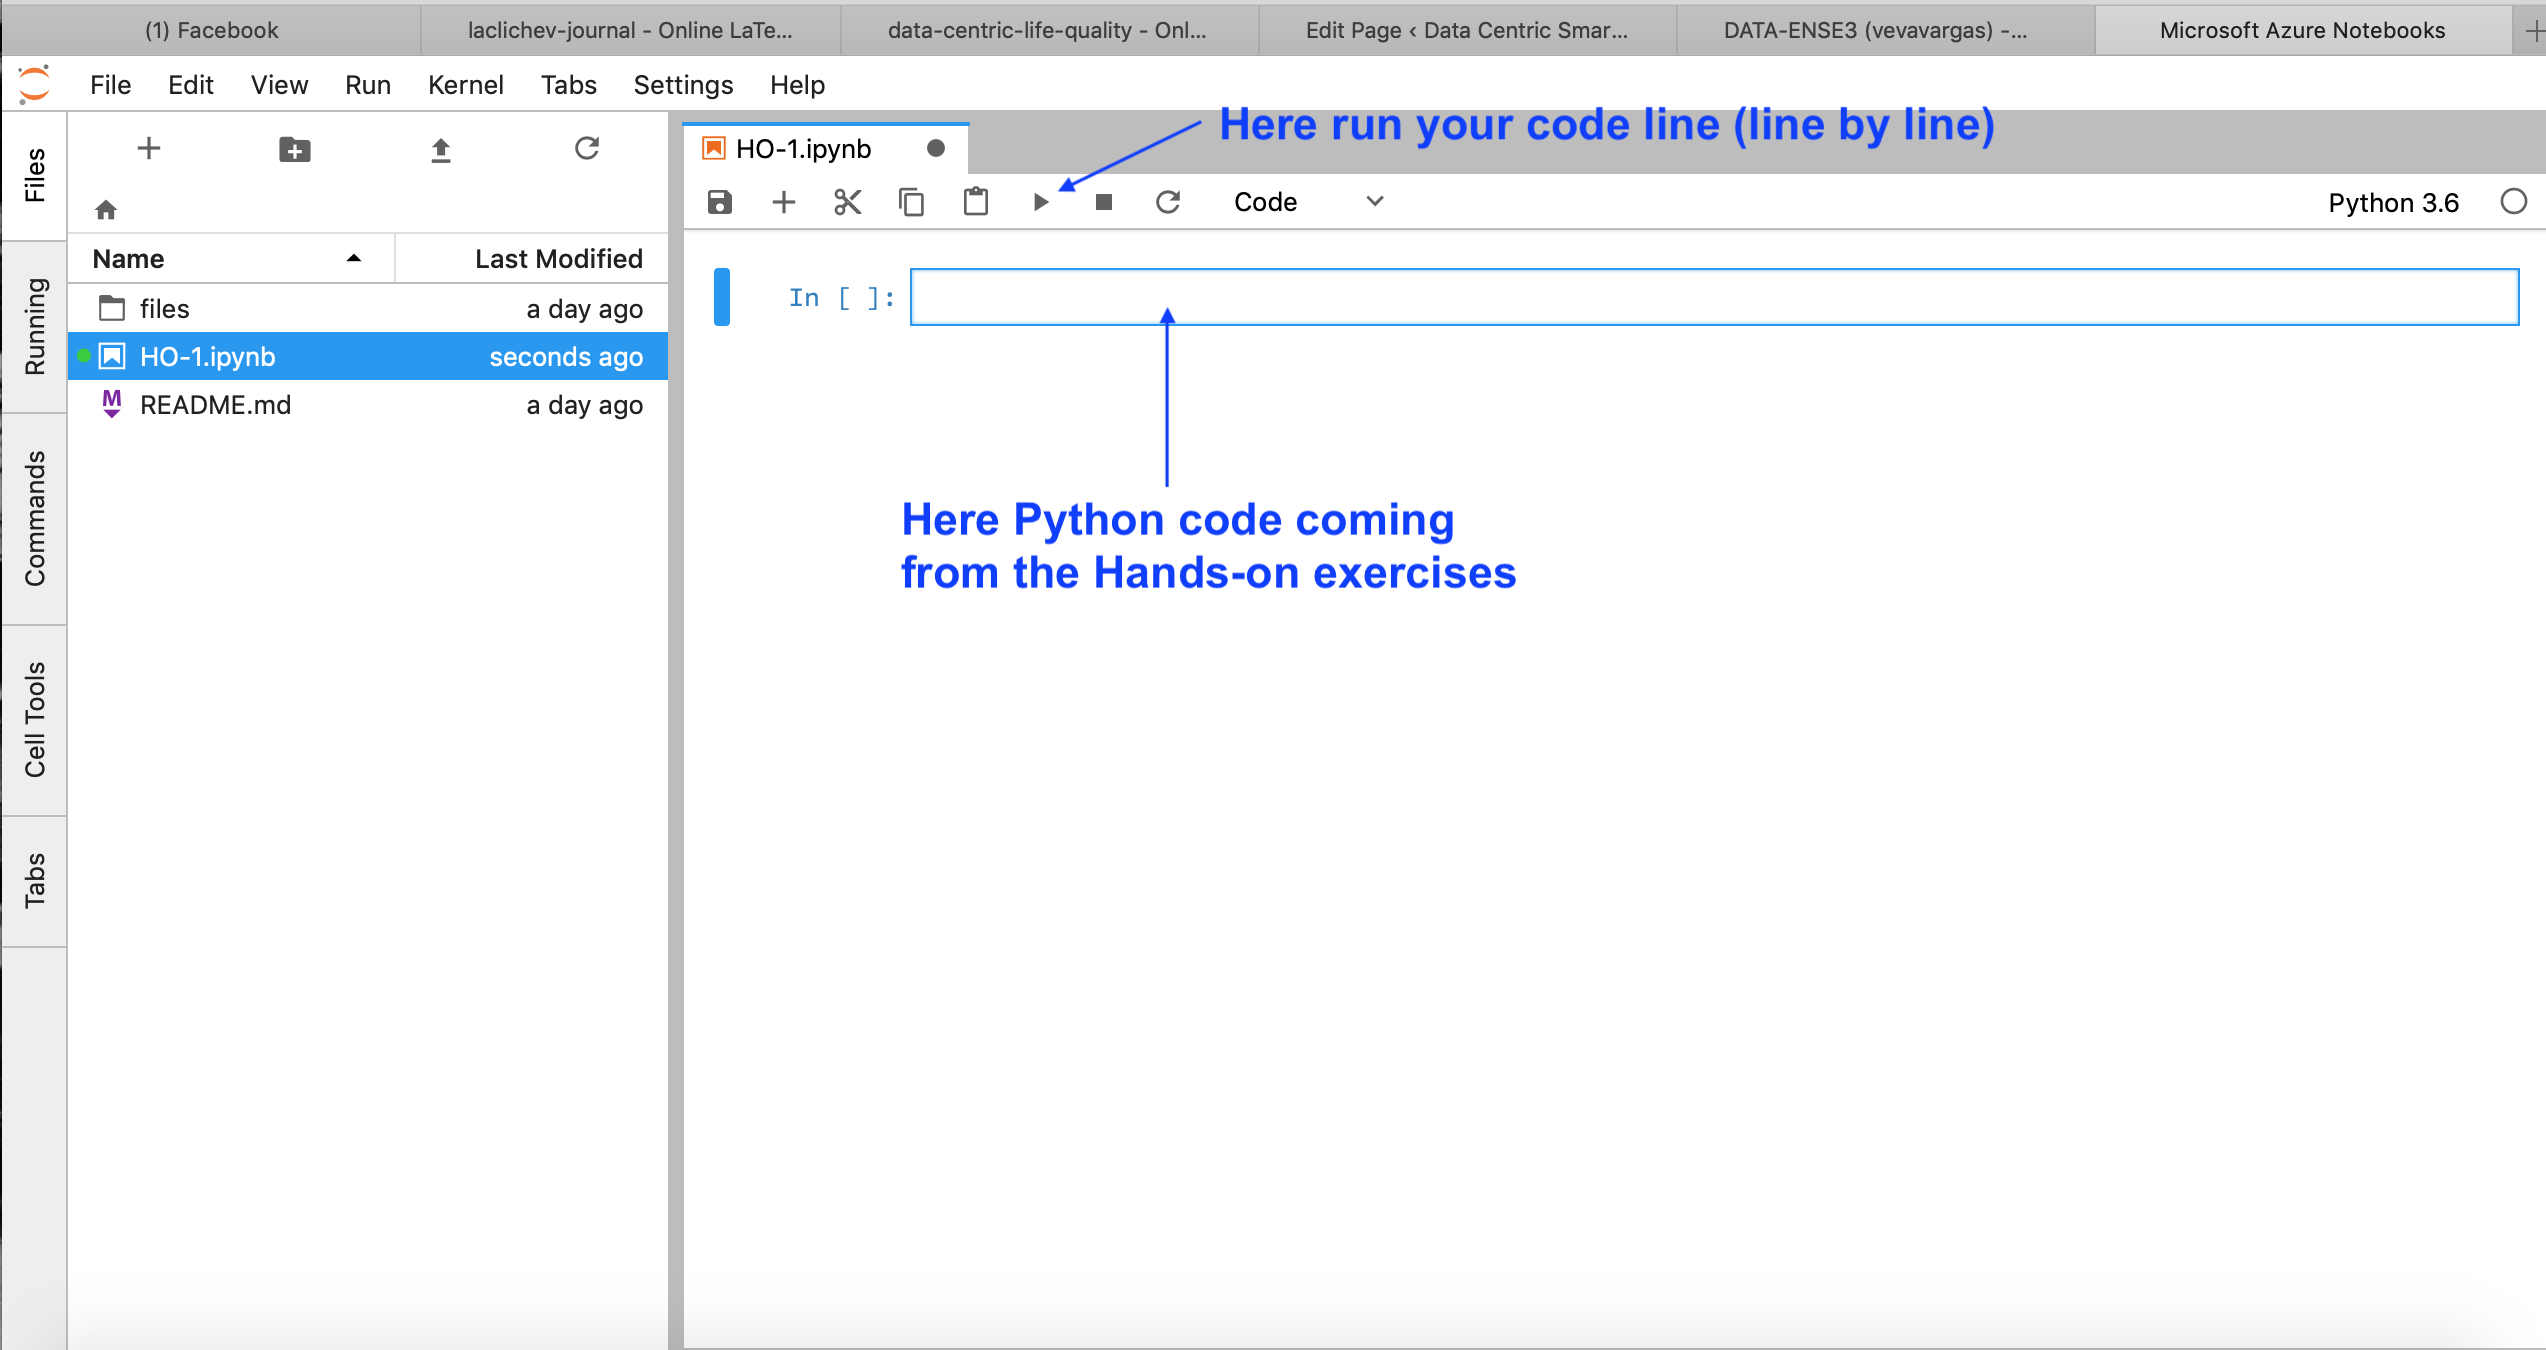
3. Once your project has been created, create a new document. We are using a « notebook” where we will give code on Python 3.6. So create a notebook for Python 3.6 by choosing from the proposed pop up formulary.
4. Click on the recently created notebook. Azure will run a Jupyter environment that will run your notebook.
5. Go back to the hands on page and start. Note that for the first exercise you must start on Section 4 and follow instructions because you are using Azure Notebooks.Open publish panel